
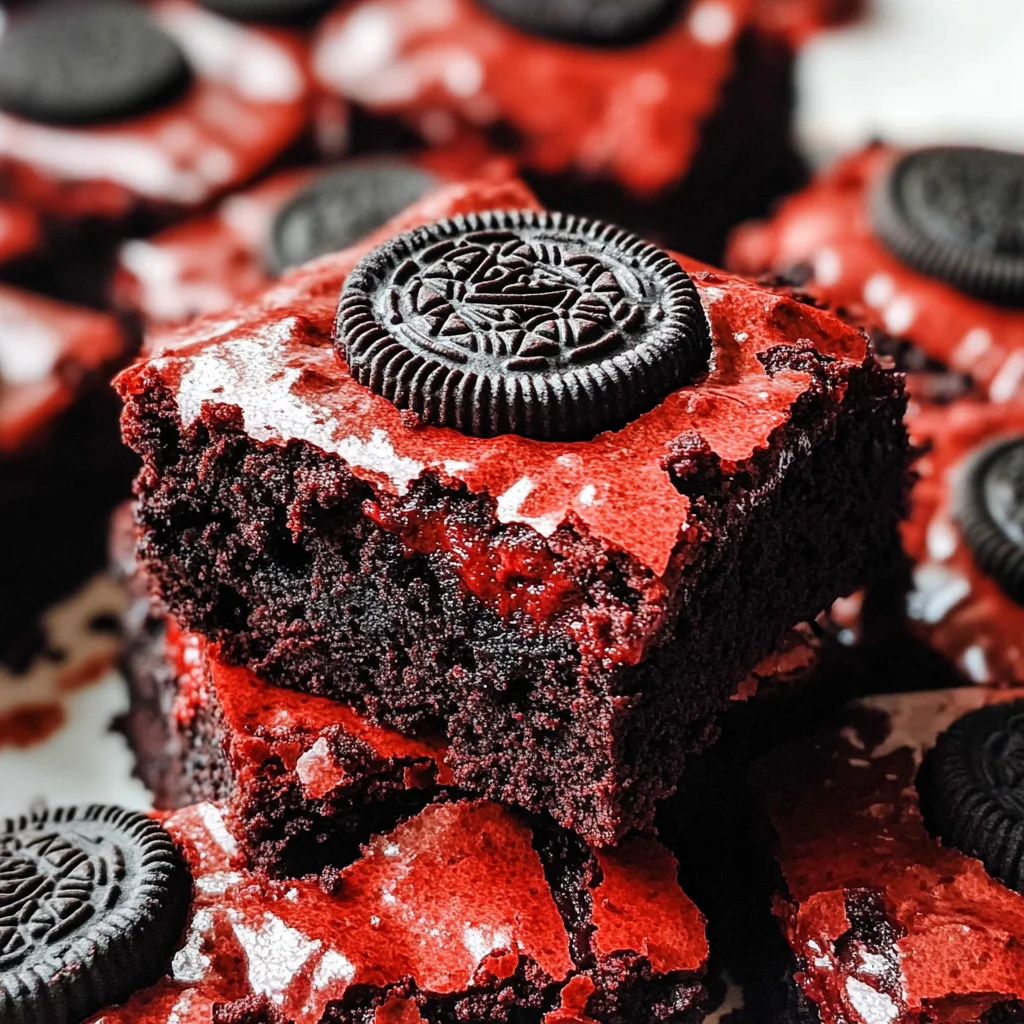
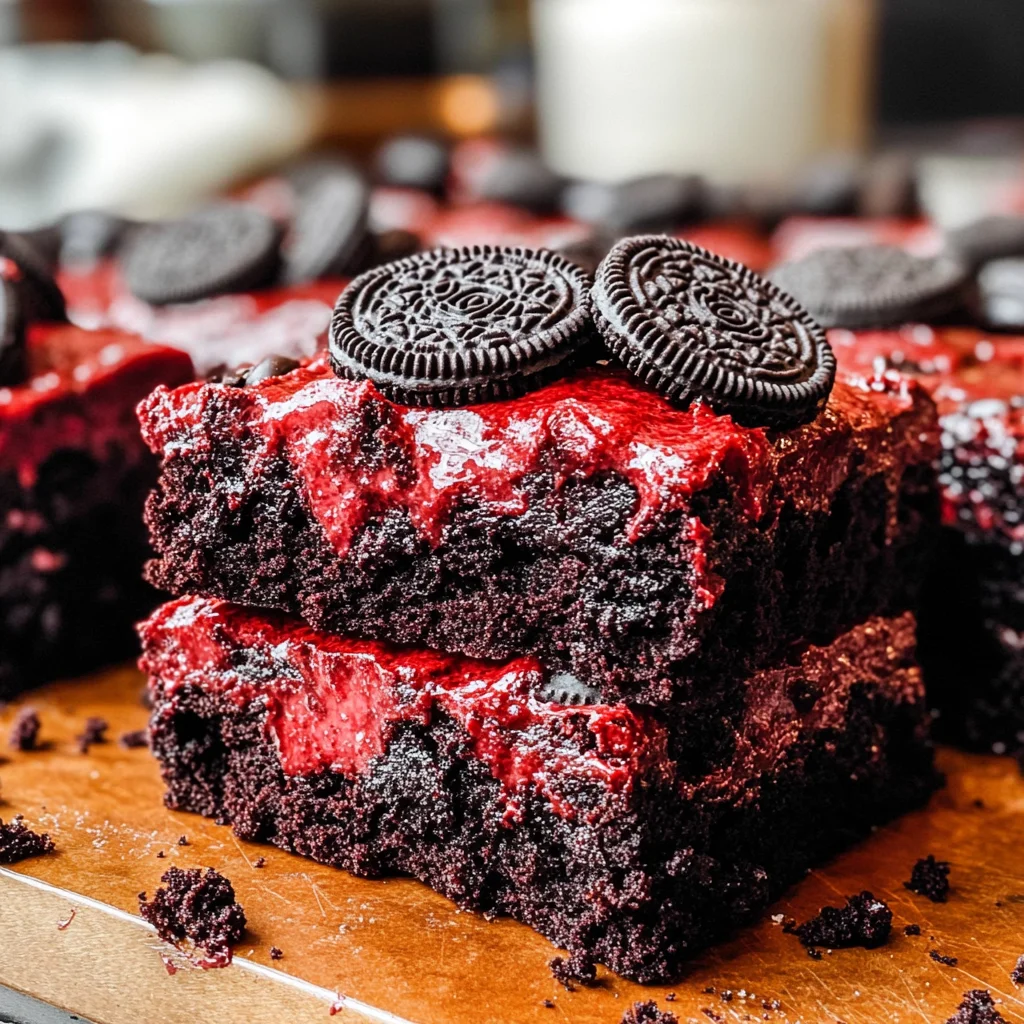
These Red Velvet Oreo Brownies are a delightful twist on the classic brownie, blending the rich flavors of red velvet cake with the crunch of Oreos. Perfect for celebrations or simply as a sweet treat at home, these brownies are sure to impress. Their ultra-fudgy texture and crackly tops make them irresistible. Plus, they come together quickly in just one bowl!
Why You’ll Love This Recipe
- Quick Preparation: These brownies take only 10 minutes to prep, making them an easy dessert option.
- Decadent Flavor: The combination of red velvet and chocolate creates a rich, indulgent taste that will satisfy any sweet tooth.
- Versatile Treat: Ideal for parties, holidays, or a cozy evening at home, they fit any occasion perfectly.
- One-Bowl Wonder: Minimal cleanup is required since everything is made in one bowl.
- Fudgy Texture: Expect a soft and chewy brownie that melts in your mouth with every bite.
Tools and Preparation
Before diving into this delicious recipe, gather your tools for a smooth baking experience. Having the right equipment makes all the difference in achieving perfect results.
Essential Tools and Equipment
- Nonstick spray
- 9×9 ceramic or metal pan
- Parchment paper
- Medium bowl
- Whisk
Importance of Each Tool
- Nonstick spray: Ensures easy release of brownies from the pan without any sticking.
- Parchment paper: Helps in lifting out the brownies easily after baking and prevents messes.
- Medium bowl: Provides enough space to mix ingredients thoroughly without spilling.

Ingredients
To create these scrumptious Red Velvet Oreo Brownies, you’ll need the following ingredients:
- 1/2 cup salted butter (113 grams)
- 3/4 cup granulated sugar
- 1/4 cup brown sugar, packed (60 grams)
- 2 large eggs
- 1/2 tsp vanilla extract
- 3/4 tsp white vinegar
- red gel food coloring
- 1/2 cup + 1 tbsp all-purpose flour, spooned & leveled (73 grams)
- 3 and 1/2 tbsp cocoa powder
- 1/4 tsp salt
- 8 oreos, broken up
How to Make Red Velvet Oreo Brownies
Step 1: Preheat the Oven
Preheat your oven to 350°F (175°C). Spray a 9×9 ceramic or metal pan with nonstick spray and line it with parchment paper to ensure easy removal later.
Step 2: Make the Brownies
- Melt the butter in a medium bowl.
- Whisk in the granulated sugar and brown sugar until well combined.
- Add the eggs and vanilla extract; whisk until smooth.
- Continue whisking for an additional two minutes to create that desirable crackly top.
- Stir in the white vinegar and add red gel food coloring until you reach your desired hue.
- Fold in the flour, cocoa powder, and salt until just combined.
- Gently fold in about two-thirds of the broken Oreos into the batter.
- Spread the batter evenly into your prepared pan and sprinkle the remaining Oreos on top.
Step 3: Bake
Bake for 24 to 29 minutes. A toothpick inserted into the edges should come out clean or mostly clean, while one inserted into the center may pull out some thick batter but shouldn’t look overly jiggly.
Step 4: Serve + Store
Allow brownies to cool for at least 30 minutes before slicing. For neat slices, let them cool longer! You can store cooled brownies in an airtight container at room temperature for up to 5 days or refrigerate them for up to a week. Enjoy them warm or let them come back to room temperature before indulging!
How to Serve Red Velvet Oreo Brownies
These Red Velvet Oreo Brownies are a delightful treat that can be enjoyed in various ways. Whether you want to impress guests or enjoy a cozy night in, these serving suggestions will elevate your dessert experience.
With Whipped Cream
- Top the brownies with a generous dollop of homemade whipped cream for a light contrast to their rich flavor.
A Scoop of Ice Cream
- Pair each brownie with a scoop of vanilla or cream cheese ice cream to balance the sweetness and add a creamy texture.
Fresh Berries
- Serve alongside fresh strawberries or raspberries. Their tartness complements the sweetness of the brownies beautifully.
Drizzle of Chocolate Sauce
- Add an indulgent touch by drizzling warm chocolate sauce over the brownies before serving.
Dusting of Powdered Sugar
- For a simple yet elegant presentation, lightly dust the brownies with powdered sugar just before serving.
How to Perfect Red Velvet Oreo Brownies
Achieving the perfect Red Velvet Oreo Brownies requires attention to detail. Follow these tips for the best results.
- Use room temperature ingredients: Ensures even mixing and helps achieve that desired fudgy texture.
- Don’t overmix the batter: Overmixing can lead to dense brownies, so mix just until combined.
- Check for doneness: Insert a toothpick into the center; it should come out with moist crumbs, not wet batter.
- Let them cool completely: Allowing the brownies to cool helps them set and makes slicing easier.
- Experiment with toppings: Try adding crushed nuts or additional Oreo pieces on top for extra crunch and flavor.
Best Side Dishes for Red Velvet Oreo Brownies
Enjoying Red Velvet Oreo Brownies can be even more delightful with complementary side dishes. Here are some great options that pair well:
-
Vanilla Ice Cream
Classic and creamy, it’s a perfect match for the rich taste of brownies. -
Fresh Fruit Salad
A medley of seasonal fruits adds freshness and balances sweetness. -
Chocolate Mousse
Light and airy, this dessert offers a different texture while enhancing the chocolate flavor. -
Coconut Whipped Cream
A dairy-free option that provides a tropical twist when paired with brownies. -
Coffee or Espresso
The bitterness of coffee enhances the chocolate notes in the brownies, making it an ideal pairing. -
Cheesecake Bites
These mini desserts provide a creamy contrast and delightful flavor combination with brownies.
Common Mistakes to Avoid
Avoiding common pitfalls can make your Red Velvet Oreo Brownies even better. Here are some mistakes to watch out for:
- Overmixing the Batter: Overmixing can lead to tough brownies. Mix just until combined for a fudgy texture.
- Skipping the Cooling Time: Cutting brownies too soon can result in messy slices. Let them cool for at least 30 minutes for cleaner cuts.
- Not Measuring Ingredients Properly: Incorrect measurements can throw off the recipe. Use a kitchen scale or measuring cups accurately for best results.
- Using Old Baking Powder: Expired baking powder can affect rising. Always check the expiration date for optimal fluffiness.
- Baking at the Wrong Temperature: An incorrect oven temperature can lead to undercooked or overbaked brownies. Use an oven thermometer for accuracy.
Storage & Reheating Instructions
Refrigerator Storage
- item Store cooled brownies in an airtight container.
- item They will last up to 5-7 days in the fridge.
Freezing Red Velvet Oreo Brownies
- item Wrap brownies tightly in plastic wrap, then place them in a freezer-safe bag.
- item They can be frozen for up to 3 months.
Reheating Red Velvet Oreo Brownies
- item Oven: Preheat to 350°F and warm brownies for about 10 minutes.
- item Microwave: Heat individual servings on medium power for 15-20 seconds.
- item Stovetop: Place in a covered skillet over low heat, warming gently until heated through.
Frequently Asked Questions
Here are some common questions about making Red Velvet Oreo Brownies:
Can I use different types of flour?
Yes, you can experiment with different flours like almond flour or whole wheat flour, but it may alter the texture.
Why is my brownie batter so thick?
Brownie batter should be thick; however, if it’s too dry, add a small amount of milk or water to achieve desired consistency.
Can I replace Oreos with another cookie?
Absolutely! Feel free to use any sandwich cookie you prefer for a different flavor profile.
How do I know when my Red Velvet Oreo Brownies are done?
Insert a toothpick into the center; it should come out with moist crumbs but not wet batter for perfectly baked brownies.
Can I add nuts or other mix-ins?
Yes! Walnuts or chocolate chips can enhance flavor and texture. Just fold them into the batter before baking.
Final Thoughts
These Red Velvet Oreo Brownies are not only delicious but also versatile and easy to customize. Whether you want to add nuts, swap cookies, or try different extracts, there are endless possibilities to suit your taste. Give this recipe a try—you’ll be amazed at how quickly they disappear!

Red Velvet Oreo Brownies
Indulge in the delightful fusion of rich red velvet cake and crunchy Oreos with these Red Velvet Oreo Brownies! This easy-to-make dessert is perfect for gatherings or cozy nights at home. With their ultra-fudgy texture and stunning appearance, these brownies are bound to impress anyone who takes a bite. Plus, they come together quickly in just one bowl, making cleanup a breeze. Whether served warm with whipped cream or chilled with ice cream, these brownies are a must-try for any dessert lover!
- Total Time: 38 minutes
- Yield: Approximately 16 brownies 1x
Ingredients
- 1/2 cup salted butter (113 grams)
- 3/4 cup granulated sugar
- 1/4 cup brown sugar, packed (60 grams)
- 2 large eggs
- 1/2 tsp vanilla extract
- 3/4 tsp white vinegar
- Red gel food coloring
- 1/2 cup + 1 tbsp all-purpose flour (73 grams)
- 3 and 1/2 tbsp cocoa powder
- 1/4 tsp salt
- 8 Oreos, broken up
Instructions
- Preheat the oven to 350°F (175°C). Spray a 9×9 pan with nonstick spray and line it with parchment paper.
- Melt the butter in a medium bowl. Whisk in granulated sugar and brown sugar until combined.
- Add eggs and vanilla extract; whisk until smooth. Continue whisking for two minutes for a crackly top.
- Stir in white vinegar and red gel food coloring to achieve your desired hue.
- Fold in flour, cocoa powder, and salt until just combined. Gently mix in two-thirds of the broken Oreos.
- Spread the batter evenly into the prepared pan and sprinkle remaining Oreos on top.
- Bake for 24 to 29 minutes until edges are set and center is slightly moist but not jiggly.
- Prep Time: 10 minutes
- Cook Time: 28 minutes
- Category: Dessert
- Method: Baking
- Cuisine: American
Nutrition
- Serving Size: 1 serving
- Calories: 180
- Sugar: 12g
- Sodium: 120mg
- Fat: 9g
- Saturated Fat: 5g
- Unsaturated Fat: 4g
- Trans Fat: 0g
- Carbohydrates: 23g
- Fiber: 1g
- Protein: 2g
- Cholesterol: 40mg

Leave a Comment